
 |
| The Arghs Tutorials : Chapter IV - quick screen capture of the lost file |
Dita's quick and dirty
photo retouching/sculpting tutorial
using Puppet Warp
This is a basic tutorial about my technique for retouching an image with Photoshop CS6 using 'Puppet Warp'
Geekery : I am using Photoshop CS6 extended on a Macbook Pro using a 2.6GHZ Intel Core i7, NVIDIA GT 650M (1GB Video RAM), Running OSX 10.8.5 with a 500GB M4 SSD (Solid State Disk) drive.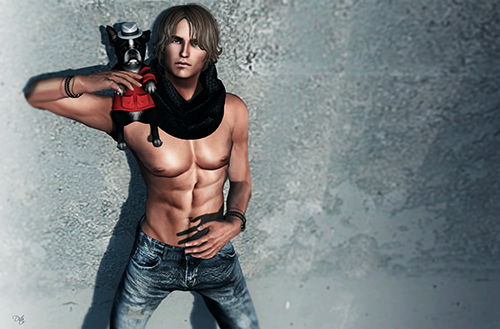 |
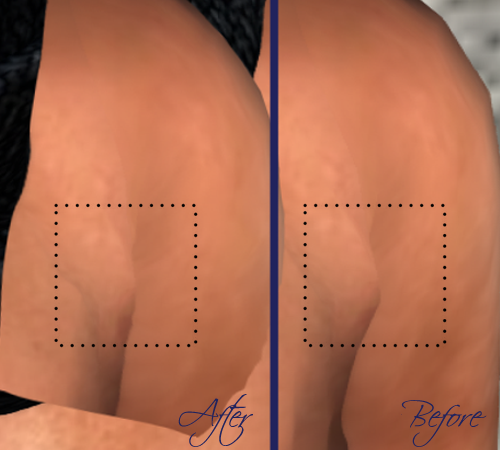
| Finished Composition |
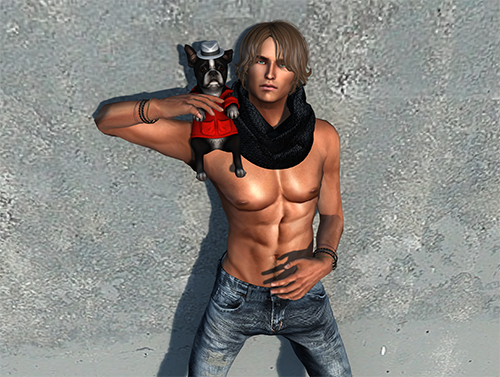 |
| Original Capture |
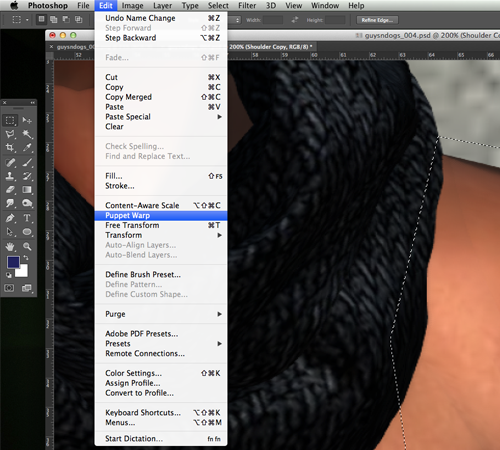 |
| Step 1: After selecting the area you wish to correct, feather your selection and copy this to a new layer from which to work. Select Puppet Warp from the Edit menu. |
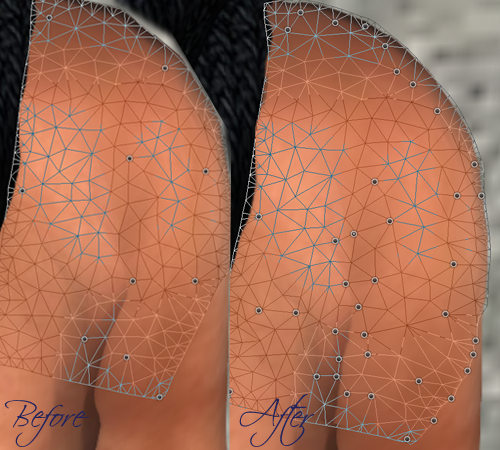 |
| Step 2: Puppet warp will convert the area into a mesh which can be manipulated by placing pins in areas you want to warp/pull/stretch/contract etc. Start with laying down several anchoring points on your mesh and add more as you need |
 |
| Step 3 : Using this method, it's possible to 'sculpt' areas and create cleaner perspectives and shading. This illustration shows how you can clean up the 'arm pit' area of the original capture with a more naturalistic 'join' between flesh bodies. |
 |
| Step 4: Just a little has been done to illustrate the flexibility and power of this tool. With one process you are able to correct much of this area where the SL mesh is crude and refine it in post production. |
And that is my ARGHS top tip. Hope you enjoyed it!
xxx
D
No comments:
Post a Comment